Part III: Removing the hard disk drive
In the lower left corner of the exposed interior of the computer, you will find the hard disk, as shown in Fig. 12a. The hard disk is mounted to a frame which on one side is attached to the chassi with two screws while the other side is suspended by two rubber cusions, as shown in Fig 12b. Remove the two screws, indicated by 'A' and 'B' in Fig. 12b, and pull out the assembly with the rubber cusions from the lower mounting edge.
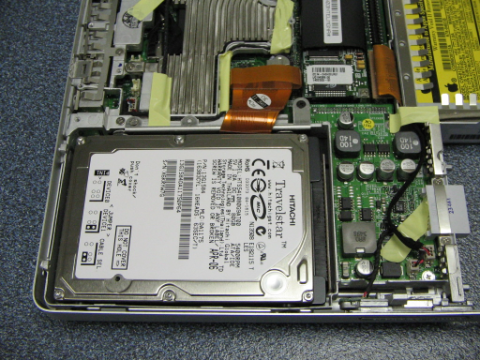
Figure 12a. The hard disk drive.
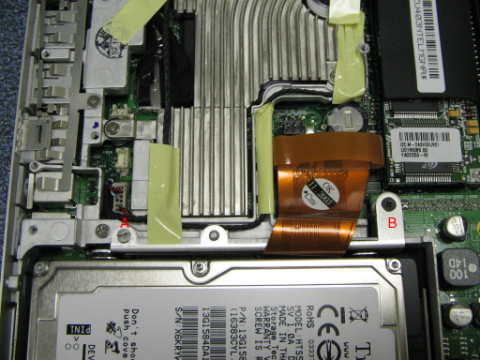
Figure 12b. Close-up showing the flex-foil connection to the hard disk drive and the two screws 'A' and 'B' holding the assembly frame in place.
Notice that in the removed hard disk assembly, the flex foil passes between the metal frame and the disk, as shown in Figs. 13a and 13b. Not very important at this stage, but the more critical as the assembly later on is to be remounted.
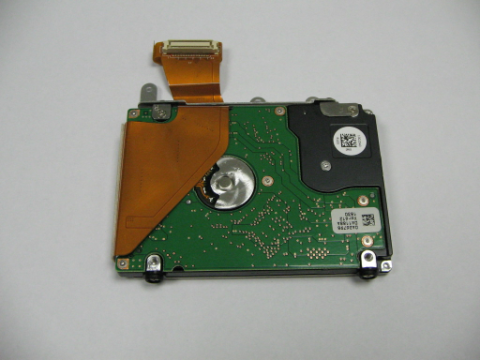
Figure 13a. The hard disk assembly removed from the chassi.
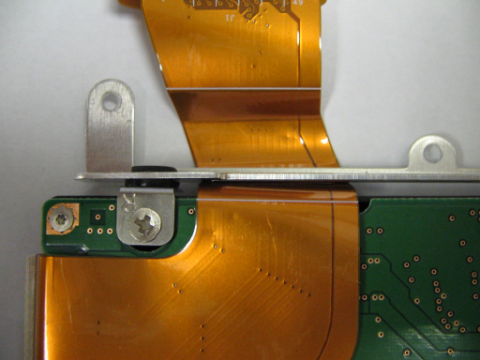
Figure 13b. Close-up showing the flex-foil between the metal frame and the disk.
Remove the metal frame and rubber cusions, and disconnect the flex-foil from the disk, as shown in Fig. 14. Replace with a new disk and repeat all steps in the opposite order. Finished!
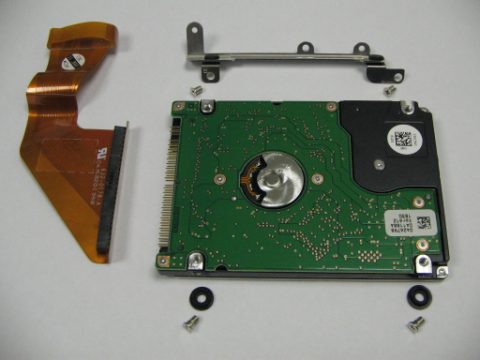
Figure 14. The components of the hard disk drive assembly in disassembled state.